FLATNESS GAUGES.
Gauges with single or multiple heads.
Heads with high level protection for integrated optoelectronic components.
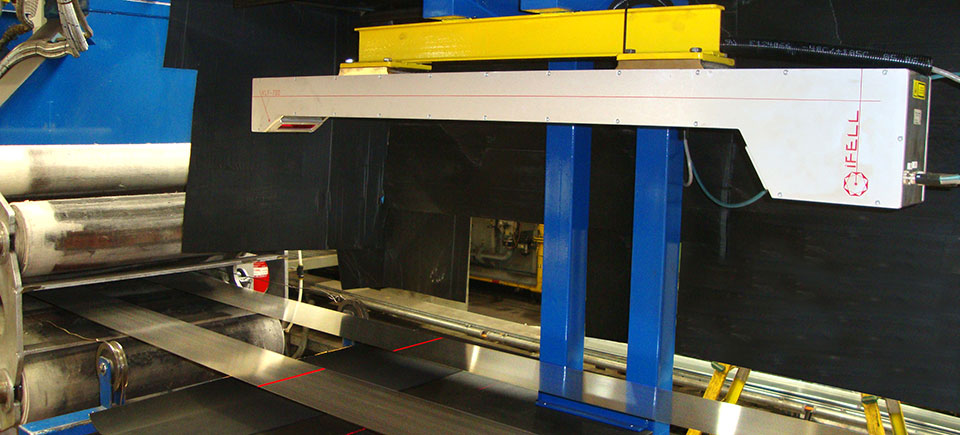
Non contact measurement by laser line technology to inspect the entire material width.
Installation from the material top side only.
Intuitive operator panel for real time display of measurements in graphic and digital form.
Automatic data report shared on local network.
Data and signals exchange on fieldbus for automatic processing lines.

TYPICAL APPLICATIONS
Inspection lines
Levelling lines
Galvanizing / pickling / finishing lines
Cut to length lines

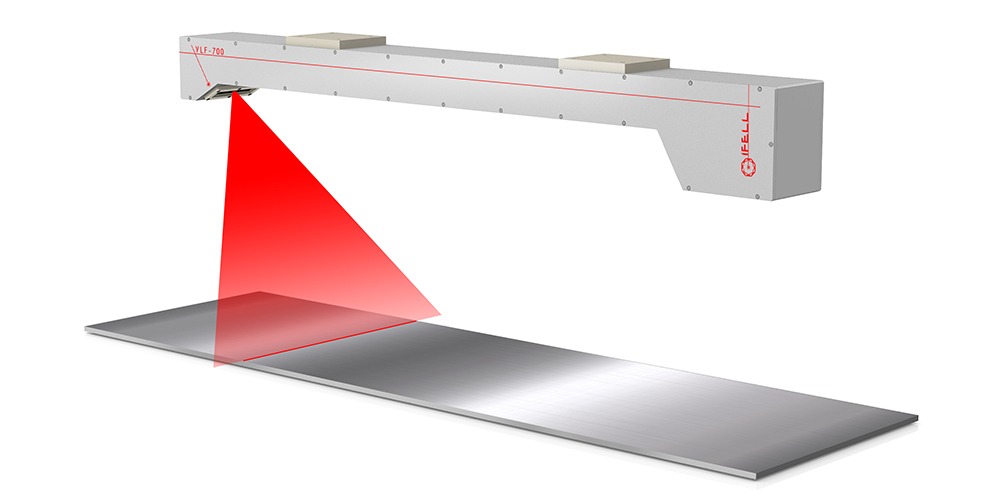
VLF SINGLE HEADS flatness gauges
Continuous detection of surface deviation from a flat reference plane, directly on production line.
A single heads, mounted in fixed position, can control materials up to 700 mm width (major width upon request).
Multiple heads, mounted side by side in fixed position, can control wider materials.
HOW IT WORKS.
VLF gauges are designed to measure the shape deviation of a surface from a flat reference plane by means of laser line triangulation principle. A narrow laser line is projected on the material surface, in cross direction with respect to travelling direction. Through an accurate optical system, placed at a certain angle, the material cross profile deviation with respect to the ideal straight profile is measured. The material movement along Y direction allows the continuous exploration of the surface through the sequential composition of the cross profiles.
With VLF gauges is possible to detect and analyse cross bow, edges undulation, surface deformation and longitudinal undulation with respect of an ideal straight plane.


